
How to create a custom folder icon
The editor walks you through three steps: folder, symbol, and text. Most icons take a couple of minutes, and everything happens in your browser.
Updated October 7, 2026
1. Pick the system you're designing for
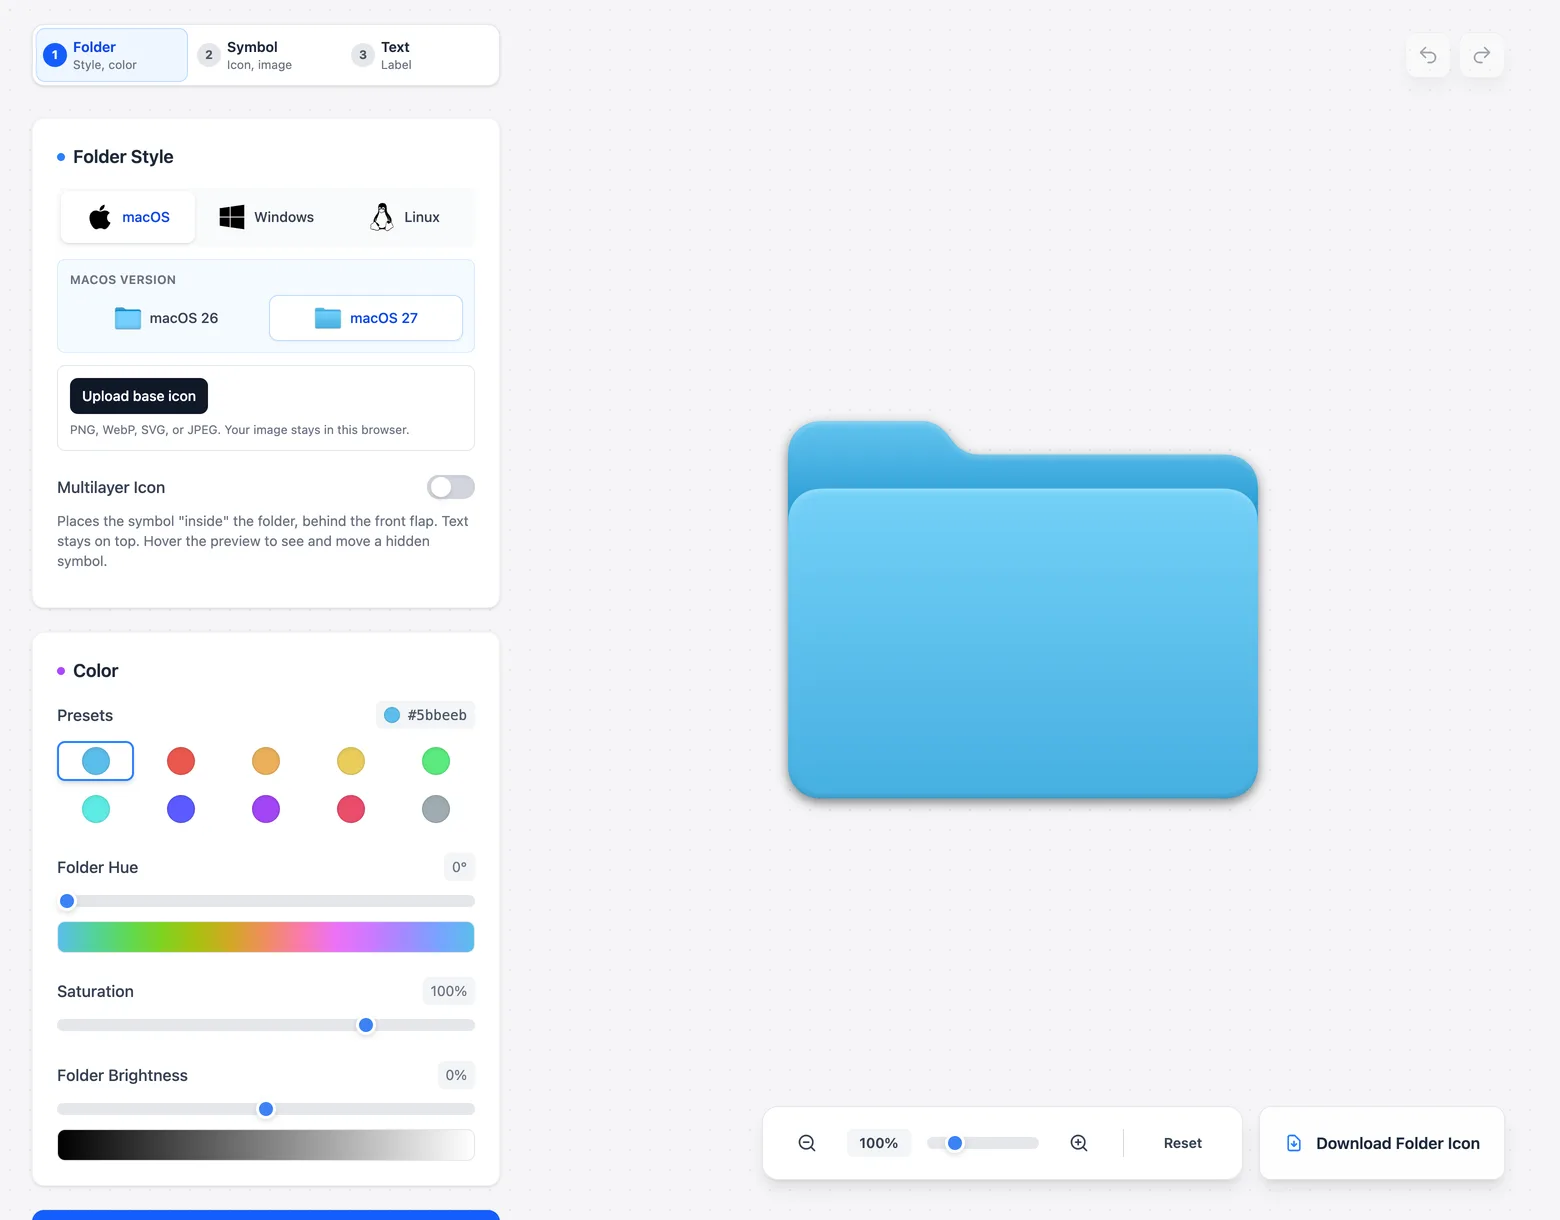
Start in the Folder step and choose macOS, Windows, or Linux. On a Mac you can also pick between the macOS 26 and macOS 27 folder shapes. On Linux you can choose KDE or GNOME. Your choice sets the folder artwork and the file type the download menu suggests, so it's worth getting right first.
Using a different icon theme? Click Upload base icon and pick one of its folder images (PNG, WebP, SVG, or JPEG). That image becomes the base you design on top of.
2. Give the folder a color
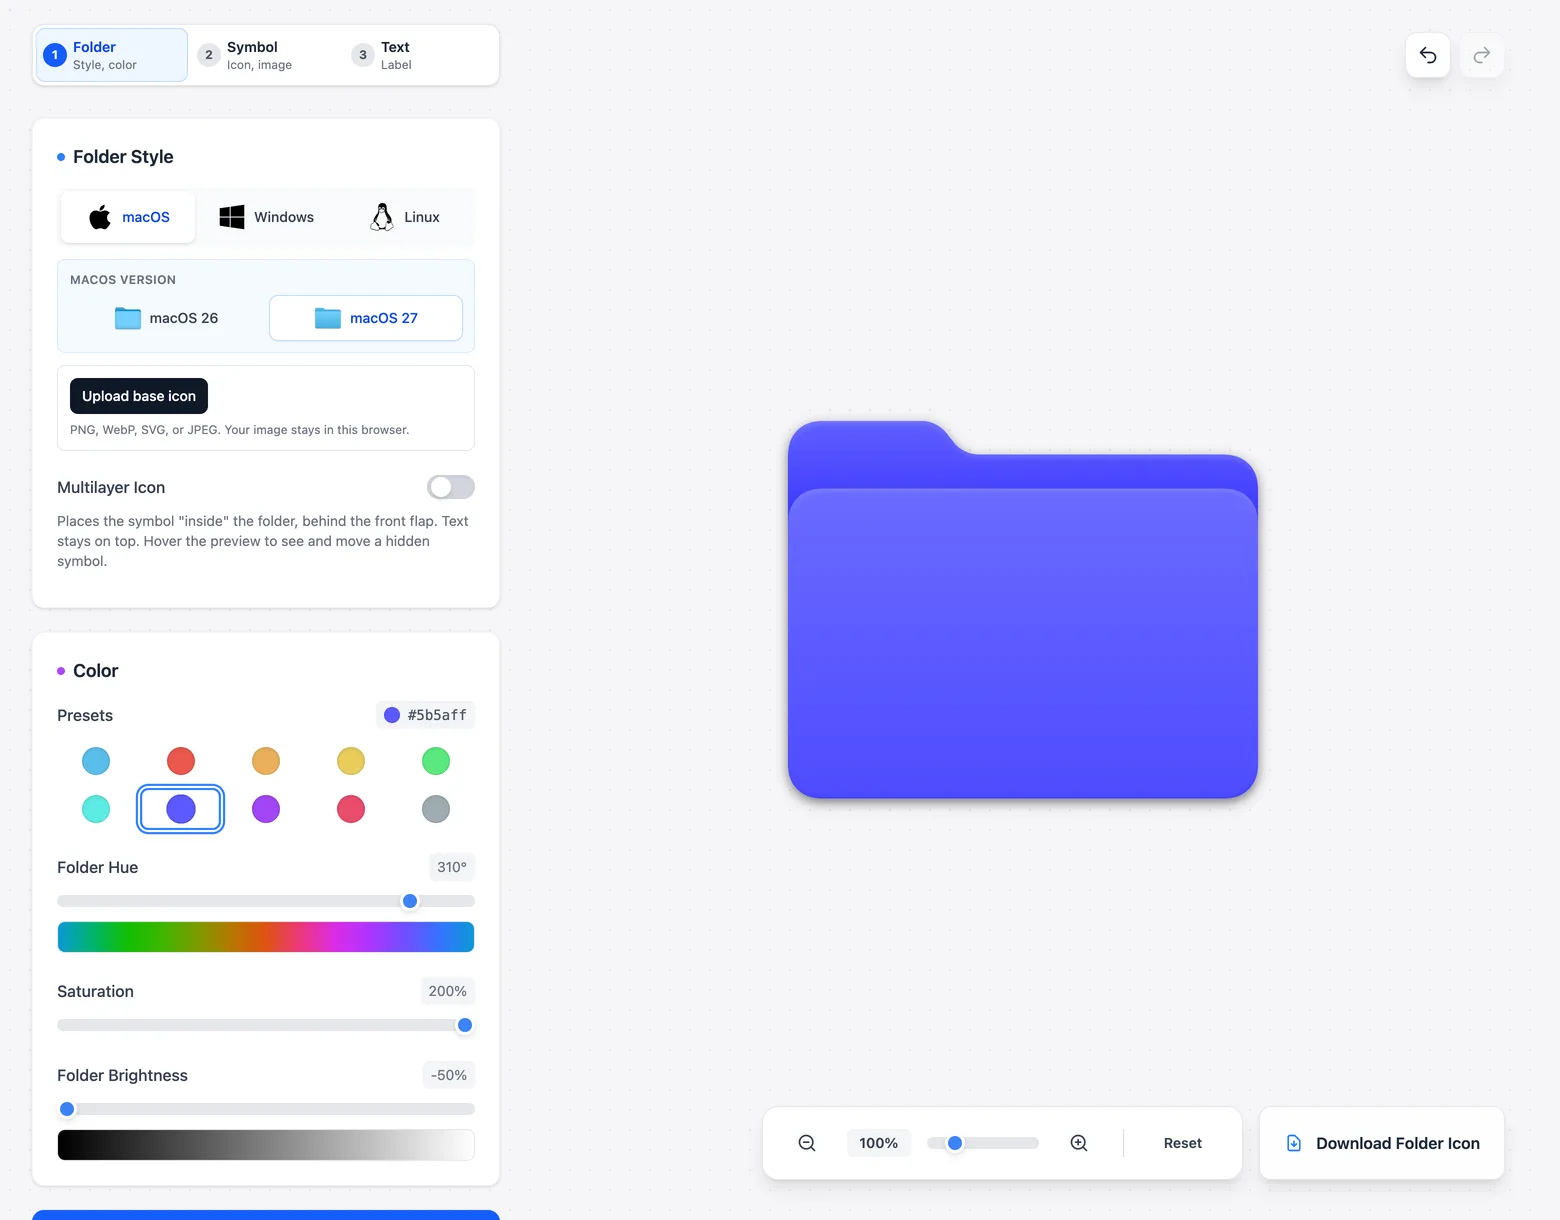
The quickest way is a preset. They match the Finder tag colors, so a red folder here looks like a red tag on a Mac. For more control, drag the Folder Hue, Saturation, and Folder Brightness sliders, or click the hex code to open a color picker.
Planning a set? Write down the hex code so every folder in the group starts from the same color.
3. Add a symbol or your own image
Click Next: Add a symbol, or the Symbol tab. Search the built-in icons, switch between Outline and Solid, and click one to put it on the folder. The search is plain English, so "camera", "music", or "code" all work.
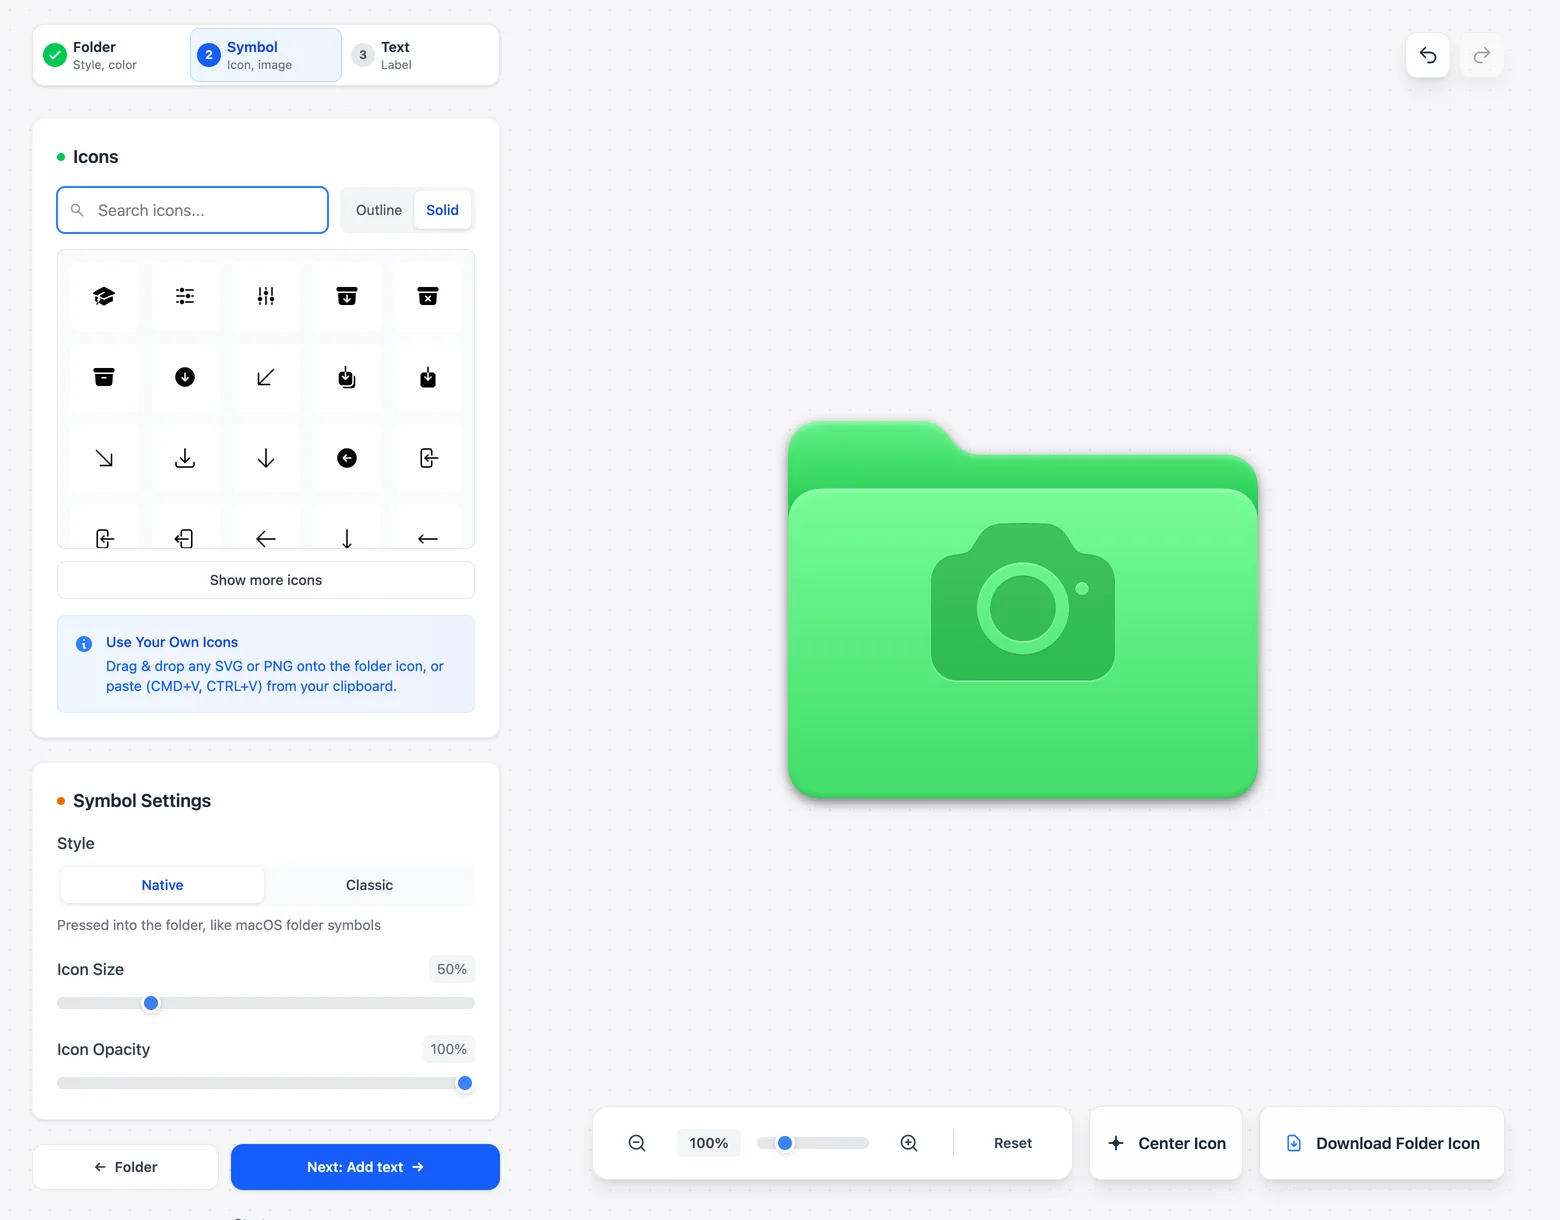
Got your own logo or picture? Drag a PNG or SVG onto the preview, or copy it and paste with Command V on a Mac or Ctrl V on Windows.
There are two symbol styles. Native presses the symbol into the folder, the way macOS draws its own folder symbols. Classic keeps the image's original colors and adds blend mode and black-and-white options, so it's the better pick for photos and logos. Use Icon Size and Icon Opacity to adjust the fit, and drag the symbol on the preview to move it.
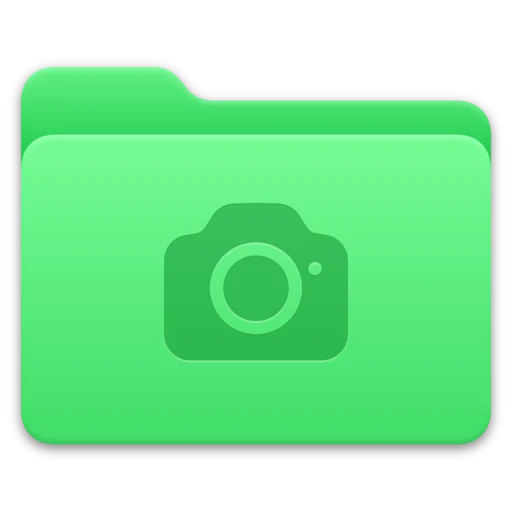 Native
 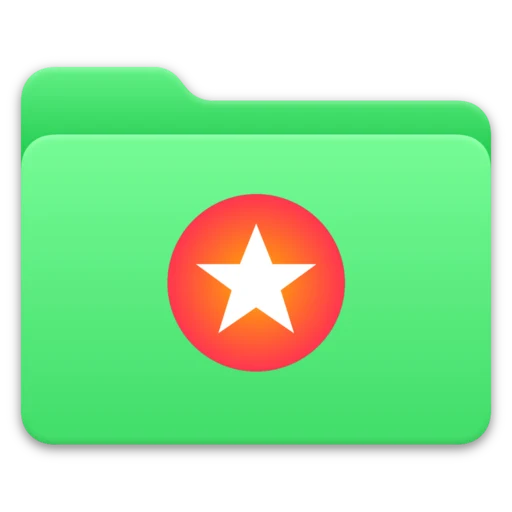 Classic
 For Mac and Windows folders, the Multilayer Icon switch in the Folder step tucks the symbol behind the front flap so it looks like it's inside the folder. Text always stays on top.
 Multilayer off
 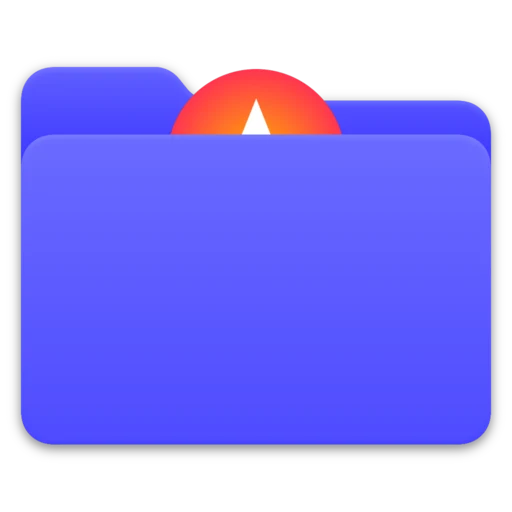 Multilayer on
 4. Add a short label (optional)
Text works best when it's short: a year, a project code, client initials, or one word. Type it in the Text step, then pick a color. Embossed matches the pressed-in look of native symbols, and Folder shade, Black, White, or any custom color also work. After that, choose a font and weight and adjust size and opacity. You can drag the text on the preview, too.
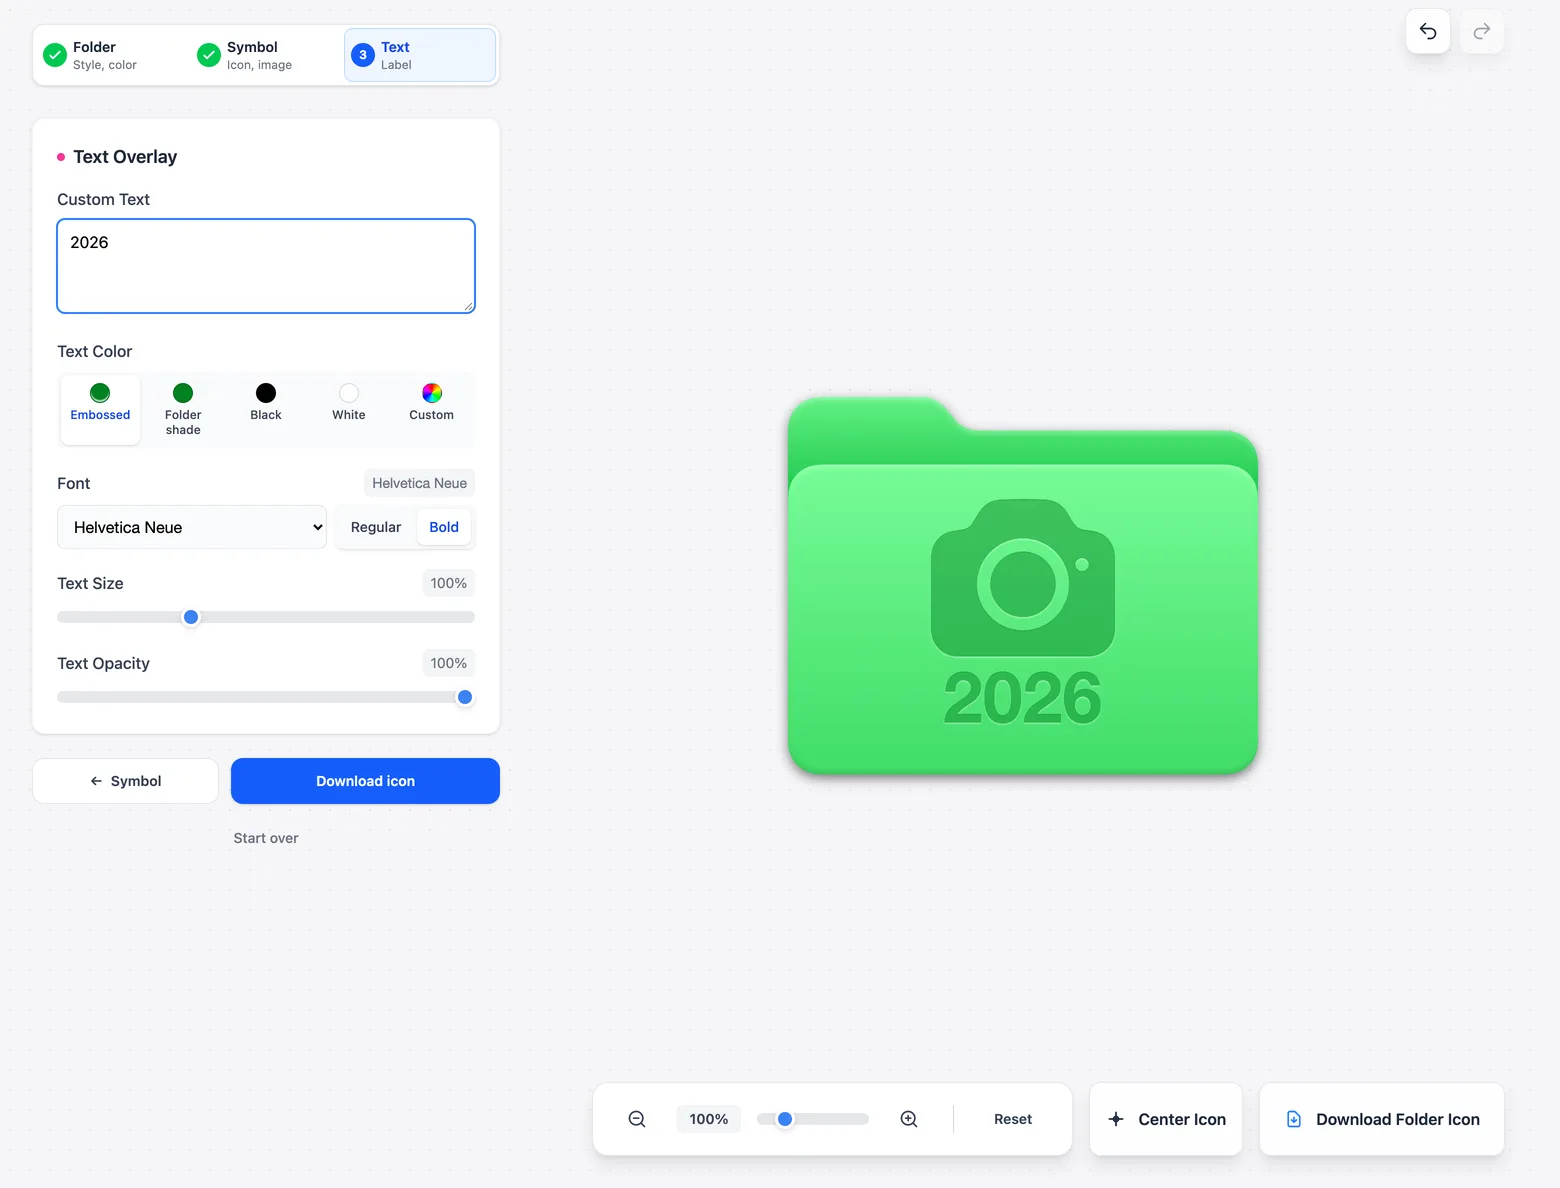
5. Download the right file
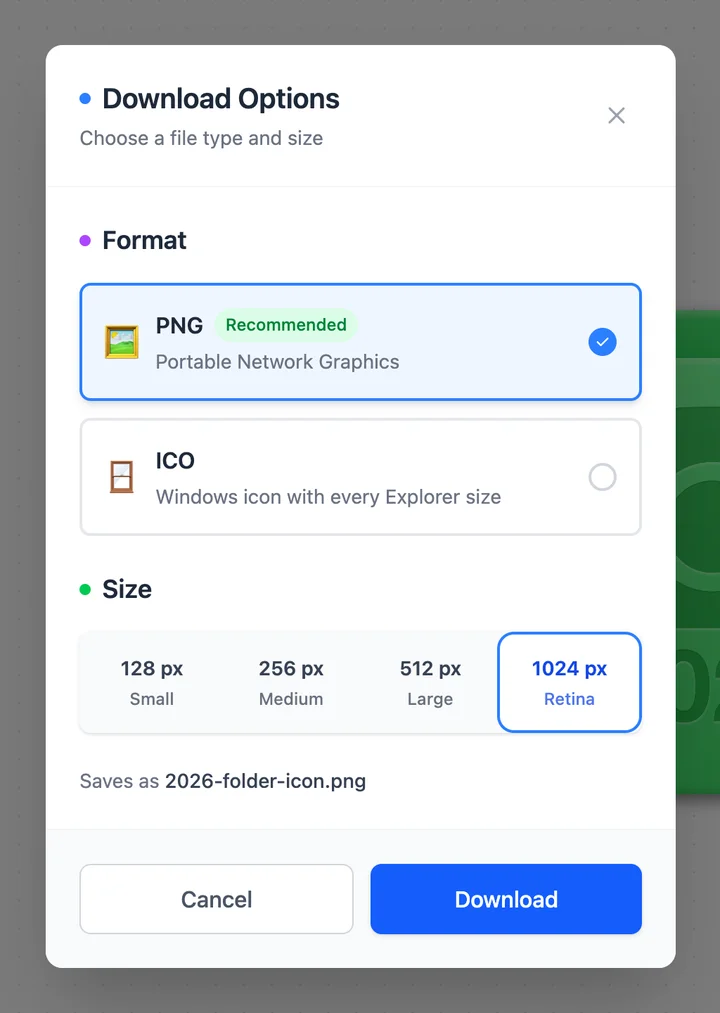
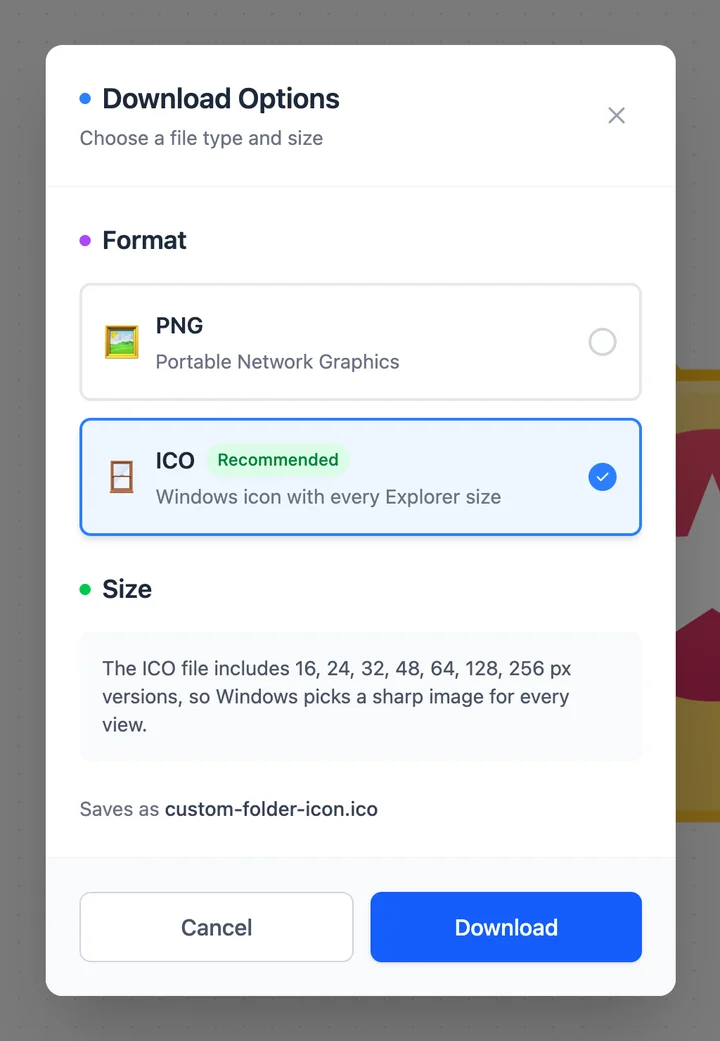
Click Download Folder Icon below the preview, or Download icon at the end of the Text step. The dialog already selects the format that suits the folder style you chose, so most of the time you can just hit Download.
For macOS
Get a PNG at 1024 px. Finder takes a copied image, and 1024 stays sharp on Retina screens.
For Windows
Get an ICO. It's the only format the Change Icon dialog accepts, and it already includes every size from 16 to 256 px.
For Linux
Get a PNG. How you apply it depends on your desktop, file manager, and icon theme.
Next: put it on a folder
The download is only the image. The folder doesn't change until you apply it in your file manager. Follow the Mac guide or the Windows 11 guide for that part.
The editor remembers your last design in this browser, so you can come back and tweak it. If you want to start fresh, click Start over under the settings.
Privacy: images you paste or drop in stay in your browser. Nothing gets uploaded, and you don't need an account.
Make your icon in the browser
No account needed, and your images never leave your device.